Blog
2012-10-06
This is the first post in a series of posts about tube map folding.
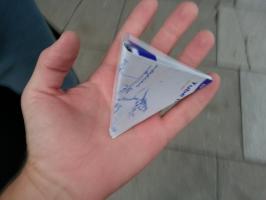
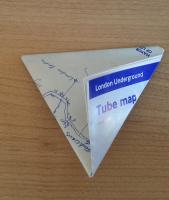
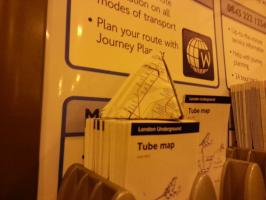
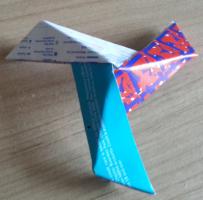
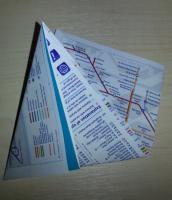
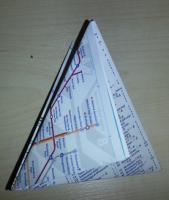
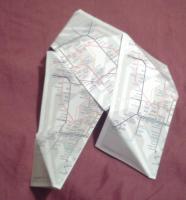
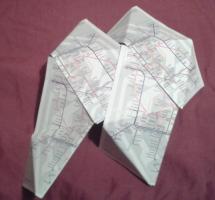
This week, after re-reading chapter two of Alex's Adventures in Numberland (where Alex learns to fold business cards into tetrahedrons, cubes and octahedrons) on the tube, I folded two tube maps into a tetrahedron:
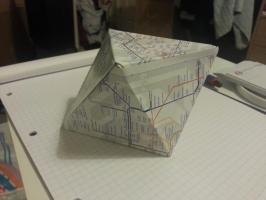
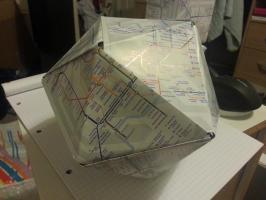
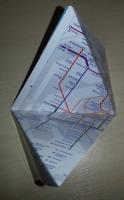
Following this, I folded a cube, an octahedron and an icosahedron:
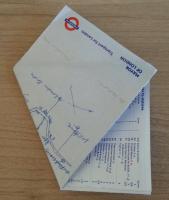
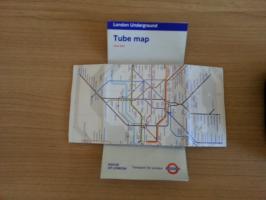
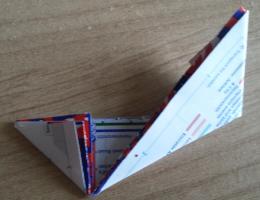
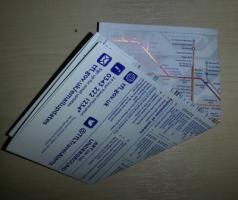
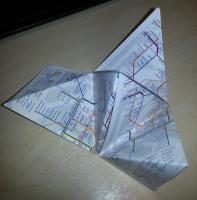
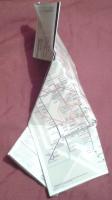
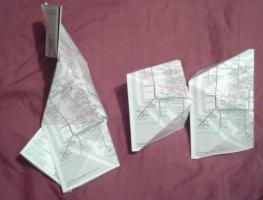
The tetrahedron, icosahedron and octahedron were all made in the same way, as seen in Numberland: folding the map in two, so that a pair of opposite corners meet, then folding the sides over to make a triangle:
In order to get an equilateral triangle at this point, paper with sides in a ratio of 1:√3 is required. Although it is not exact, the proportions of a tube map are close enough to this to get an almost equilateral triangle. Putting one of these pieces together with a mirror image piece (one where the other two corners were folded together at the start) gives a tetrahedron. The larger solids are obtained by using a larger number of maps.
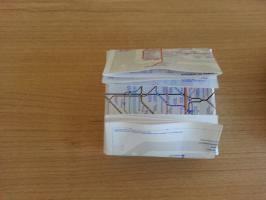
The cube—also found in Numberland—can me made by placing two tube maps on each other at right angles and folding over the extra length:
Six of these pieces combine to give a cube.
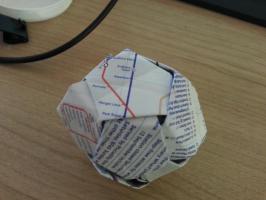
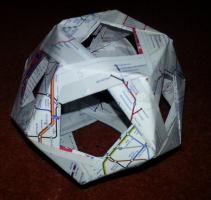
Finally this morning, with a little help from the internet, I folded a dodecahedron, thus completing all the Platonic solids:
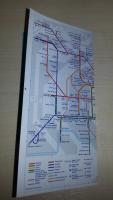
To spread the joy of folding tube maps, each time I take the tube, I am going to fold a tetrahedron from two maps and leave it on the maps when I leave the tube. I started this yesterday, leaving a tetrahedron on the maps at South Harrow. In the evening, it was still there:
Do you think it will still be there on Monday morning? How often do you think I will return to find a tetrahedron still there? I will be keeping a tetrahedron diary so we can find out the answers to these most important questions...
(Click on one of these icons to react to this blog post)
You might also enjoy...
Comments
Comments in green were written by me. Comments in blue were not written by me.
2017-12-21
New test comment please ignoreMatthew
Add a Comment
2012-11-02
This is the second post in a series of posts about tube map folding.
Following my previous post, I did a little more folding.
The post was linked to on Going Underground's Blog where it received this comment:
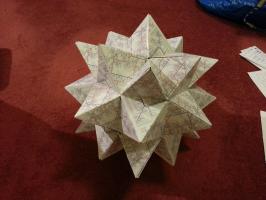
In response to which I made this from 48 tube maps:
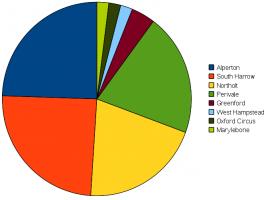
Also since the last post, I left 49 tetrahedrons at tube stations in a period of just over two weeks. Here's a pie chart showing which stations I left them at:
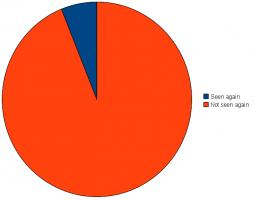
Of these 49, only three were still there the next time I passed through the station:
Due to the very low recapture rate, little more analysis can be done. Although I do wonder where they all ended up. Do you work at one of those stations and threw some away? Or did you pass through a station and pick one up? Or was it aliens and ghosts?
For my next trick, I want to gather a team of people, pick a day, and leave one at every station that day. If you want to join me, comment on this post, tweet me or comment on reddit and we can formulate a plan. Including your nearest station(s) in your message will help us sort out who takes which stations...
(Click on one of these icons to react to this blog post)
You might also enjoy...
Comments
Comments in green were written by me. Comments in blue were not written by me.
Add a Comment
2015-01-31
This is the third post in a series of posts about tube map folding.
In 2012, I folded all the Platonic solids from tube maps. The dodecahedron I made was a little dissapointing:
After my talk at Electromegnetic Field 2014, I was shown the following better method to fold a dodecahedron.
Making the modules
First, take a tube map, cut apart all the pages and cut each page in half.
Next, take one of the parts and fold it into four
then lay it flat.
Next, fold the bottom left corner upwards
and the top right corner downwards.
Finally, fold along the line shown below.
You have now made a module which will make up one edge of the dodecahedron. You will need 30 of these to make the full solid.
Once many modules have been made, then can be put together. To do this, tuck one of the corners you folded over into the final fold of another module.
Three of the modules attached like this will make a vertex of the dodecahedron.
By continuing to attach modules, you will get the shell of a dodecahedron.
To make the dodecahedron look more complete, fold some more almost-squares of tube map to be just larger than the holes and tuck them into the modules.
(Click on one of these icons to react to this blog post)
You might also enjoy...
Comments
Comments in green were written by me. Comments in blue were not written by me.
Add a Comment
2015-03-24
This is the fourth post in a series of posts about tube map folding.
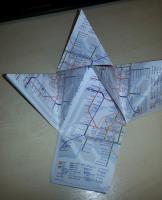
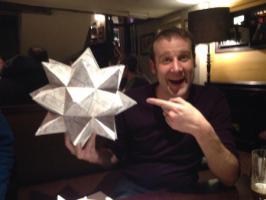
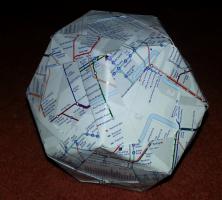
A while ago, I made this (a stellated rhombicuboctahedron):
Here are some hastily typed instructions for
Matt Parker, who is making one
at this month's Maths Jam. Other people are
welcome to follow these instructions too.
You will need
- 48 tube maps
- glue
Making a module
First, take a tube map and fold the cover over. This will ensure that your
shape will have tube (map and not index) on the outside and you will have
pages to tuck your tabs between later.
Now fold one corner diagonally across to another corner. It does not matter
which diagonal you chose for the first piece but after this all following pieces
must be the same as the first.
Now fold the overlapping bit back over the top.
Turn it over and fold this overlap over too.
You have made one module.
You will need 48 of these and some glue.
Putting it together
By slotting three or four of these modules together, you can make a
pyramid with a triangle or square as its base.
A stellated rhombicuboctahedron is a rhombicuboctahedron with a pyramid, or
stellation on each face. In other words, you now need to build a
rhombicuboctahedron with the bases of pyramids like these. A rhombicuboctahedron
looks like this:
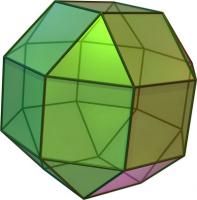
en.wiki User Cyp, CC BY-SA 3.0
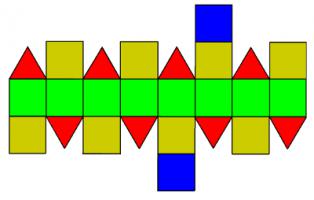
More usefully, its net looks like this:
To build a stellated rhombicuboctahedron, make this net, but with each shape
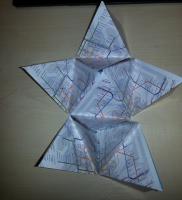
as the base of a pyramid. This is what it will look like 6/48 tube maps in:
If you make on of these, please tweet me a photo so I can see it!
(Click on one of these icons to react to this blog post)
You might also enjoy...
Comments
Comments in green were written by me. Comments in blue were not written by me.
I wish you'd make the final stellation of the rhombicuboctahedron! And show us! I know the shapes of the faces but have been stuck two years on the assembly!
Roberts, David
Add a Comment
2016-09-06
This is the fifth post in a series of posts about tube map folding.
After my talk at Electromagnetic Field 2014, I was sent a copy of
MC Escher Kaleidocycles by Doris Schattschneider and Wallace Walker (thanks Bob!).
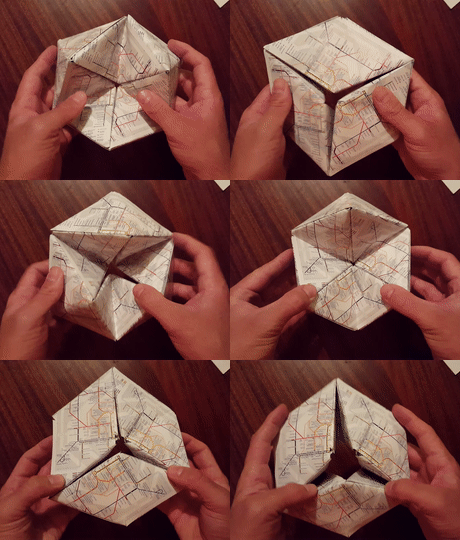
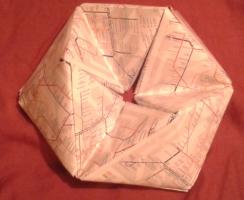
A kaleidocycle is a bit like a 3D flexagon:
it can be flexed to reveal different parts of itself.
In this blog post, I will tell you how to make a kaleidocycle from tube maps.
You will need
- 12 tube maps
- glue
Making the modules
First, fold the cover of a tube map over. This will allow you to have the tube
map (and not just its cover) on the faces of your shape.
With the side you want to see facing down, fold the map so that two
opposite corners touch.
For this step, there is a choice of which two corners to connect: leading to
a right-handed and a left-handed piece. You should make 6 of each type for your
kaleidocycle.
Finally, fold the overhanding bits over to complete your module.
The folds you made when connecting opposite corners will need to fold both
ways when you flex your shape, so it is worth folding them both ways a few times
now before continuing.
Putting it together
Once you have made 12 modules (with 6 of each handedness), you are ready
to put the kaleidocycle together.
Take two tube maps of each handedness and tuck them together in a line.
Each map is tucked into one of the opposite handedness.
The four triangles across the middle form a net of a tetrahedron. Complete
the tetrahedron by putting the last tab into the first triangle. Glue these
together.
Take two more tube maps of the opposite handedness to those at the top of the tetrahedron.
Fit them into the two triangles poking out of the top of the tetrahedron to
make a second tetrahedron.
Repeat this until you have five connected tetrahedra. Finally, connect the
triangles poking out of the top and the bottom to make your kaleidocycle.
(Click on one of these icons to react to this blog post)
You might also enjoy...
Comments
Comments in green were written by me. Comments in blue were not written by me.
Add a Comment

